Installation Steps
This guide will walk you through the complete installation process of eTaxi platform on your server.
Prerequisites
Before starting the installation, ensure you have:
- PHP 8.4 or higher installed
- Composer (PHP dependency manager) - Required to install Filament and other dependencies
- Node.js & NPM (version 16+ recommended) - Required for Filament asset compilation
- MySQL/MariaDB Database Server (version 5.7+ or 10.3+)
- Web Server (Apache or Nginx)
- Required PHP Extensions (see Server Requirements section below)
Note: eTaxi uses Filament (v3.3+) as the admin panel framework, which will be automatically installed via Composer.
1. Download and Extract Files
Download the eTaxi package and extract it to your web server directory (e.g., htdocs, public_html, or your domain folder).
2. Create Database
First, create a MySQL database for eTaxi. You can do this using phpMyAdmin, MySQL command line, or any database management tool.
Using MySQL Command Line:
CREATE DATABASE etaxi_db CHARACTER SET utf8mb4 COLLATE utf8mb4_unicode_ci;
Using phpMyAdmin:
- Log in to phpMyAdmin
- Click on "New" to create a new database
- Enter database name:
etaxi_db - Select collation:
utf8mb4_unicode_ci - Click "Create"
3. Installation Screen
Open the E-Taxi Installer in your browser:
http://your-domain.com/install
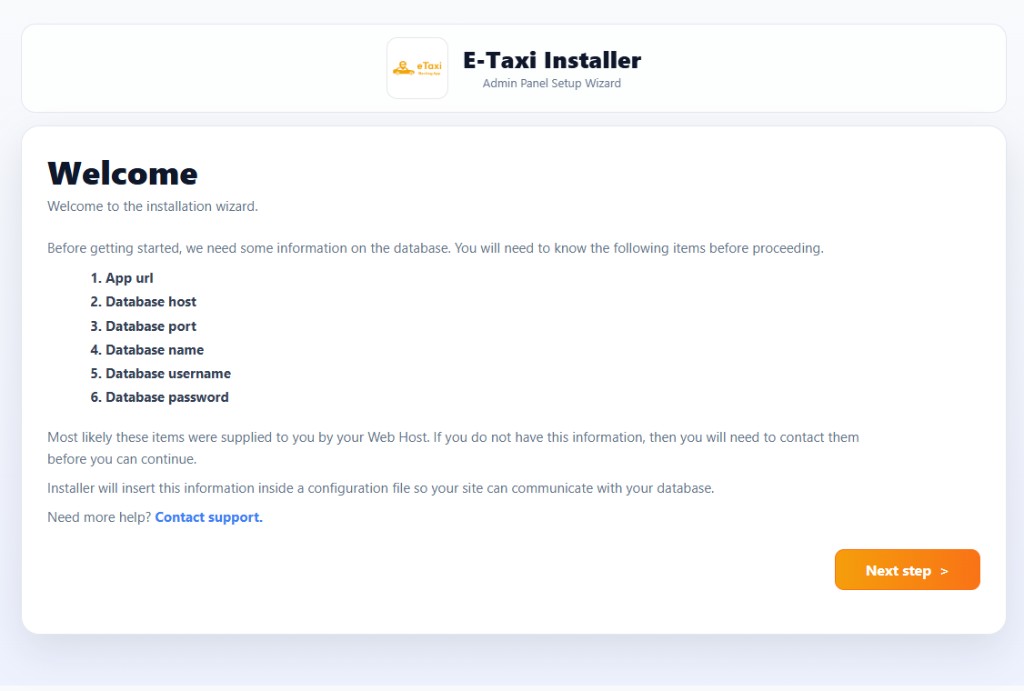
On the Welcome screen, the installer lists the information you will need before proceeding:
- App URL
- Database host
- Database port
- Database name
- Database username
- Database password
Click Next step to continue.
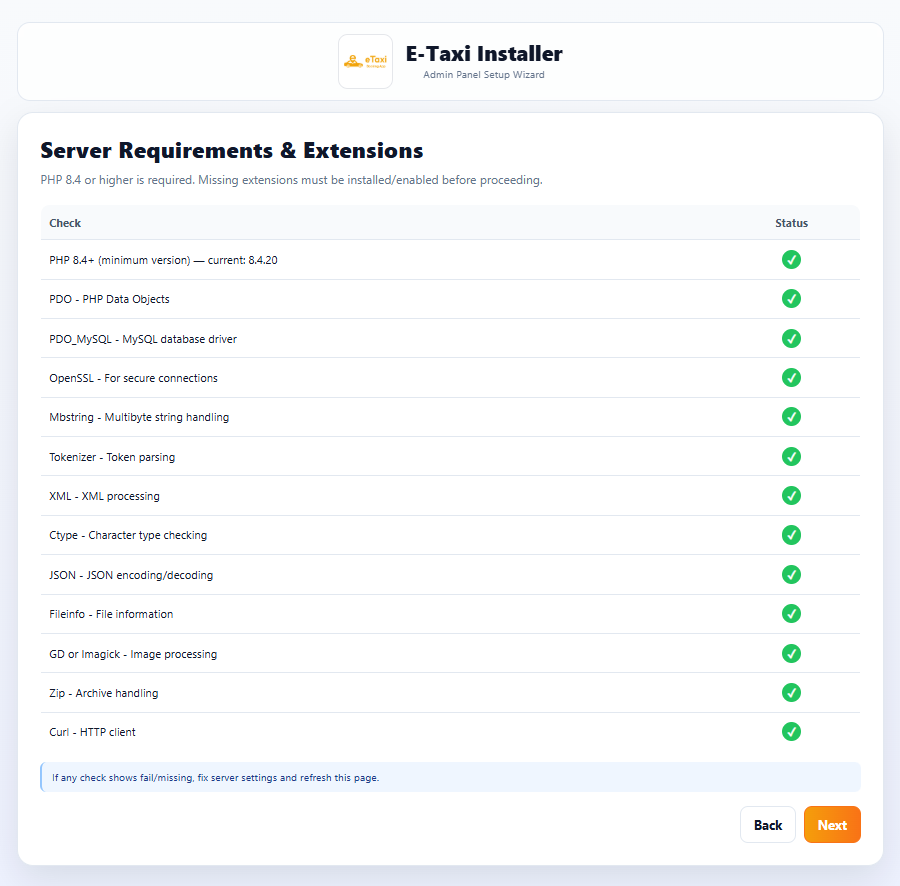
4. Server Requirements & Extensions
The installer checks that your server meets the minimum requirements. PHP 8.4 or higher is required. Missing extensions must be installed or enabled before you can proceed.
If PHP version is lower than 8.4 or any extension is not installed, it will be highlighted in red. Ensure your server meets all requirements before continuing.
If any check shows fail or missing, fix the server settings and refresh this page. Then click Next.
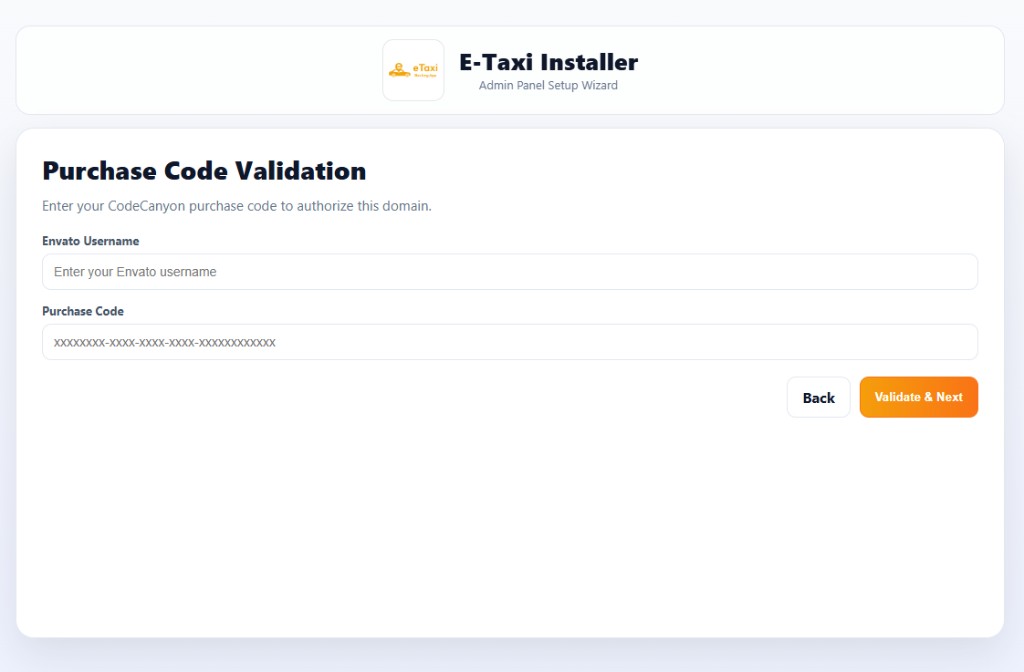
5. Purchase Code Validation
Enter your CodeCanyon purchase code to authorize this domain:
- Envato Username — your Envato marketplace username
- Purchase Code — format:
XXXXXXXX-XXXX-XXXX-XXXX-XXXXXXXXXXXX
To find your purchase code, visit: Where is My Purchase code?
Click Validate & Next to continue.
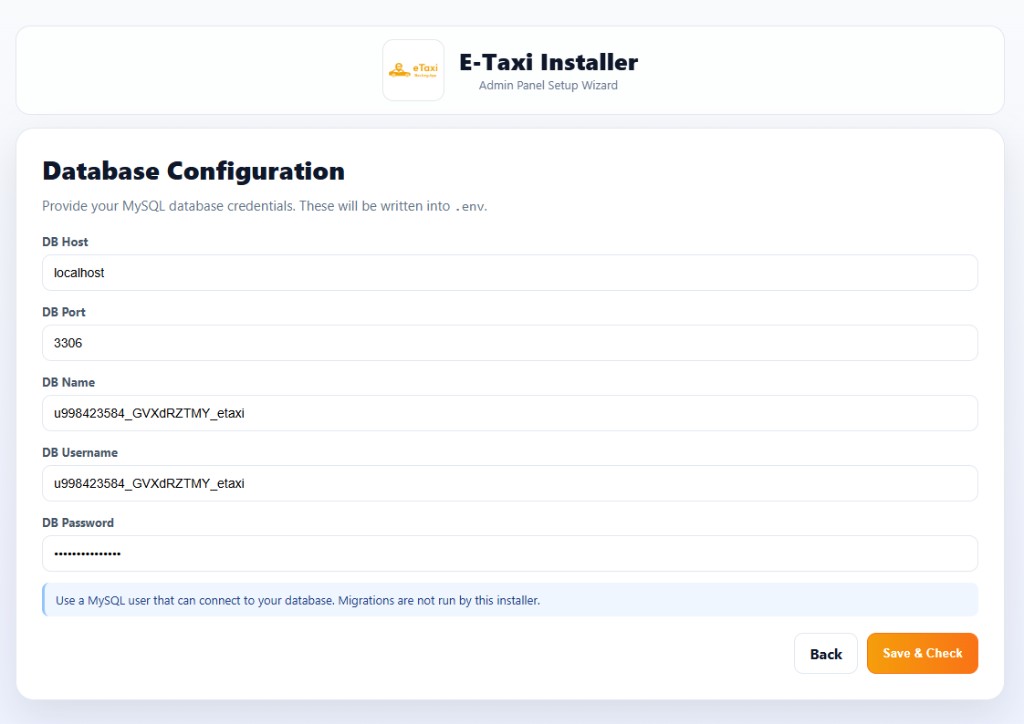
6. Database Configuration
Provide your MySQL database credentials. These will be written into the .env file:
- DB Host — e.g.
localhostor127.0.0.1 - DB Port — default
3306 - DB Name — your database name
- DB Username — MySQL username with access to the database
- DB Password — MySQL password
If you are getting error in this step, check your database host,port,name user and password.
Click Save & Check to verify the connection and continue.
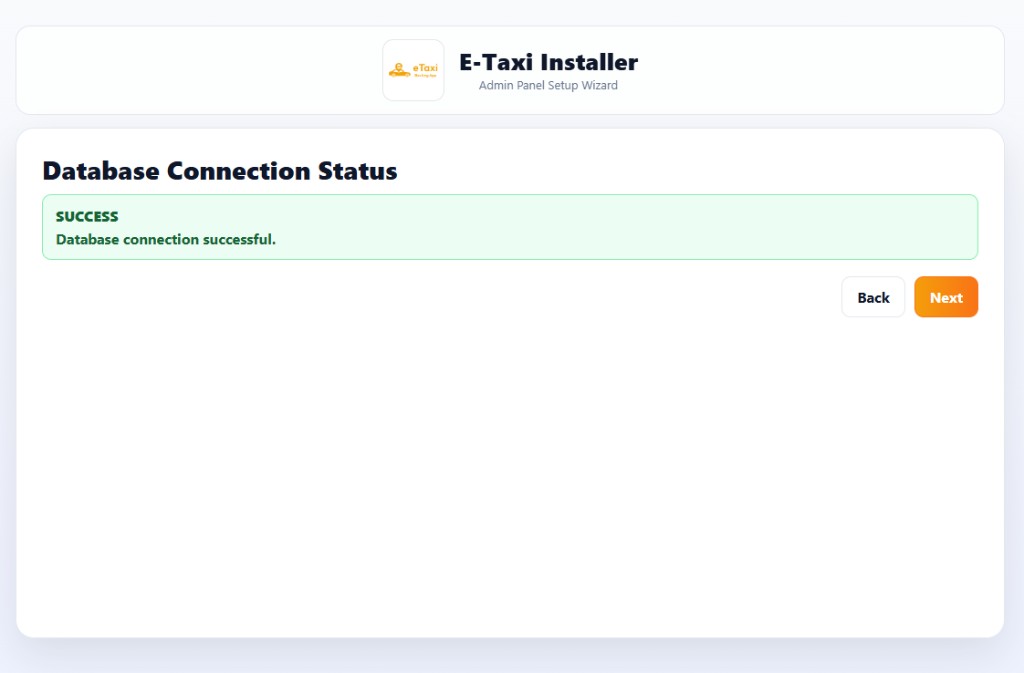
7. Database Connection Status
After clicking Save & Check, the installer verifies your database connection. If the credentials are correct, you will see a SUCCESS message confirming that the database connection was successful.
If the connection fails, go back and verify your database host, port, name, username, and password. Then click Save & Check again.
Click Next to continue.
8. Final Installation
Set your App URL and Super Admin credentials. Email and password are saved to .env and created as the admin user in the database:
- App URL — e.g.
https://your-domain.com - Admin Email — super admin login email
- Admin Password — super admin login password
Note: Admin is saved with role_id = 1, Spatie admin role, and full permissions. Database tables must exist first (php artisan migrate).
If admin save fails, run migrations on the server and submit this form again.
Click Finish Install to complete setup.

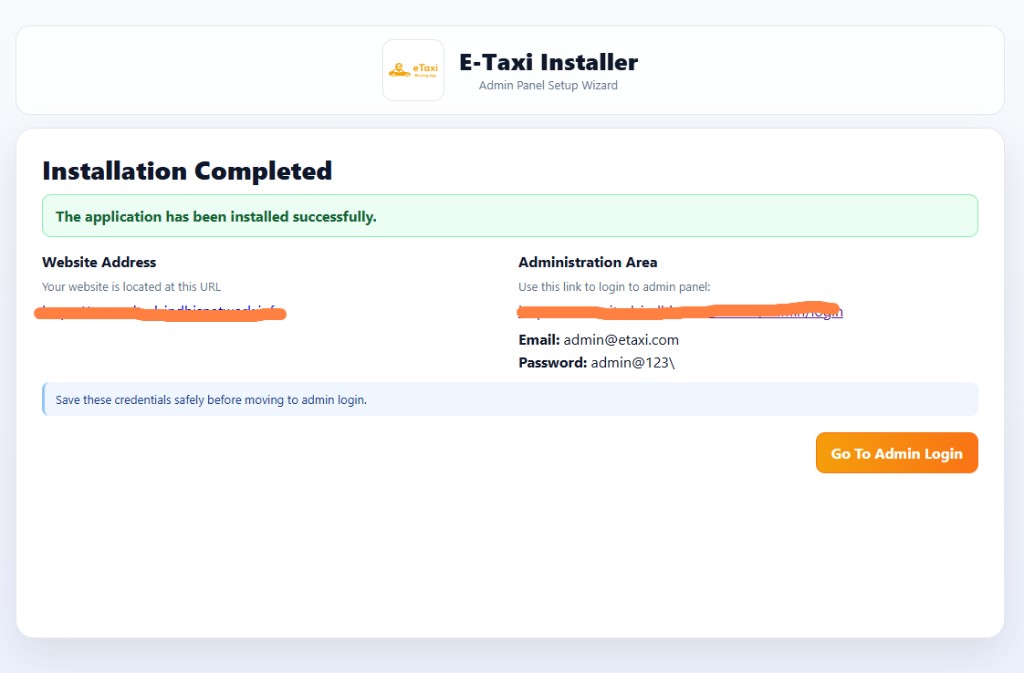
9. Installation Completed
If everything is configured successfully, you will see the Installation Completed screen.
- Website Address — your live site URL
- Administration Area — link to the admin panel login
Default credentials (as set during installation):
- Email:
admin@etaxi.com - Password:
admin@123
Save these credentials safely before moving to admin login. Click Go To Admin Login to open the admin panel.
10. Configure Additional Services
Pusher Configuration (for Real-time Features)
Add to your .env file:
BROADCAST_DRIVER=pusher
PUSHER_APP_ID=your_app_id
PUSHER_APP_KEY=your_app_key
PUSHER_APP_SECRET=your_app_secret
PUSHER_APP_CLUSTER=your_cluster
Firebase Cloud Messaging (FCM)
Add to your .env file:
FCM_SERVER_KEY=your_fcm_server_key
FCM_PROJECT_ID=your_fcm_project_id
FCM_MESSAGING_SENDER_ID=your_sender_id
Google Maps API
Add to your .env file:
GOOGLE_PLACES_API_KEY=your_places_api_key
GOOGLE_GEOCODING_API_KEY=your_geocoding_api_key
Payment Gateways
Configure payment gateway credentials:
RAZORPAY_KEY=your_razorpay_key
RAZORPAY_SECRET=your_razorpay_secret
STRIPE_KEY=your_stripe_key
STRIPE_SECRET=your_stripe_secret
PAYTM_MERCHANT_ID=your_paytm_merchant_id
PAYTM_MERCHANT_KEY=your_paytm_merchant_key
11. Post-Installation Steps
Clear Cache
php artisan config:clear
php artisan cache:clear
php artisan route:clear
php artisan view:clear
Optimize for Production
php artisan config:cache
php artisan route:cache
php artisan view:cache
php artisan optimize
Set Up Queue Worker
For background job processing, set up a queue worker:
php artisan queue:work
Or configure a supervisor/cron job to run it automatically.
Set Up WebSocket Server (Optional)
For real-time features, start the WebSocket server:
php artisan websocket:serve --port=6001
Troubleshooting
Common Issues
-
Permission Denied Errors
- Ensure storage and bootstrap/cache folders have write permissions
- Check file ownership on Linux/Mac
-
Database Connection Failed
- Verify database credentials in
.env - Ensure MySQL/MariaDB server is running
- Check if database exists (create it if it doesn't)
- Verify MySQL user has proper permissions
- Check if
pdo_mysqlextension is enabled in PHP
- Verify database credentials in
-
Composer Install Fails
- Check PHP version (must be 8.4+)
- Verify all required PHP extensions are installed
- Check internet connection for package downloads
-
NPM Install Fails
- Ensure Node.js is installed (version 16+ recommended)
- Clear npm cache:
npm cache clean --force
-
Admin Panel Not Loading
- Run
php artisan filament:upgrade - Clear all caches
- Rebuild assets:
npm run build
- Run
Next Steps
After successful installation:
- Configure Settings - Set up your platform settings in the admin panel
- Add Cities & Zones - Configure service areas
- Set Up Ride Types - Configure available vehicle types
- Configure Fare Settings - Set up pricing for different ride types
- Set Up Payment Gateways - Configure payment methods
- Add Admin Users - Create additional admin accounts
- Configure API Keys - Set up Google Maps, FCM, and other services
For detailed configuration guides, refer to other sections of this documentation.